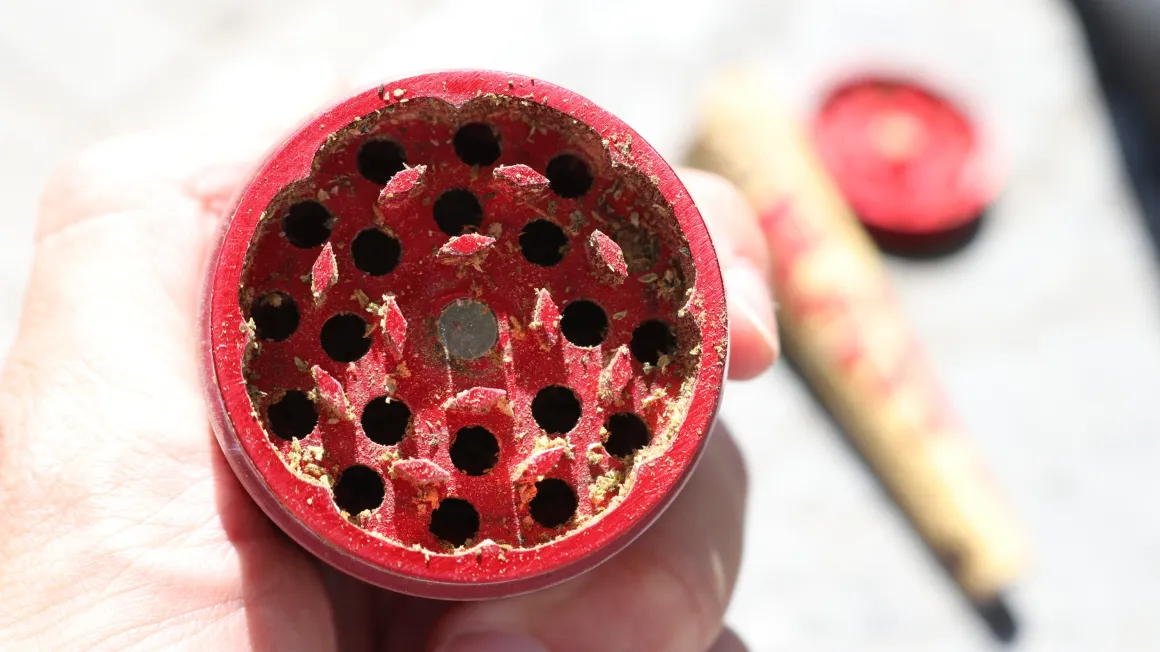
How to Boil Your Grinder to Clean It and Get High at the Same Time
Cleaning your grinder is an essential part of maintaining its functionality and longevity. While there are several methods available, one lesser-known but highly effective approach is to boil your grinder. Not only does this method remove stubborn resin and build-up, but it also allows you to make use of any leftover residue for an extra high. In this article, we will guide you through the process of boiling your grinder and tips on maximizing the cannabis-infused benefits.
The Benefits of Boiling Your Grinder for Cleaning
Boiling your grinder offers several advantages over other cleaning methods. One of the main benefits is the ability to retrieve any remaining resin or plant material, resulting in a more potent experience when consumed. Additionally, boiling helps loosen stubborn residue, making it easier to remove and extend the lifespan of your grinder. It is a simple and cost-effective solution that can effectively revive your used grinder and enhance your cannabis experience.
Gather the Required Materials
Before diving into the cleaning process, ensure you have all the necessary materials at hand. The items you will need include a pot, water, tongs, a heat-resistant container, a stove or heat source, and a brush or toothbrush for scrubbing. These materials are readily available in most households, making this cleaning method accessible for cannabis enthusiasts of all levels.
Step-by-Step Guide to Boiling Your Grinder
Follow these simple steps to effectively clean your grinder using the boiling method:
Step 1: Disassemble and Arrange
Begin by disassembling your grinder, separating the different components carefully. Arrange the pieces in a heat-resistant container, ensuring they fit comfortably without overcrowding. This allows for better heat distribution and thorough cleaning.
Step 2: Boil Water
Fill a pot with enough water to completely submerge the grinder components. Place the pot on a stove or heat source, and bring the water to a rolling boil. Boiling water effectively loosens and dissolves the residue, making it easier to remove.
Step 3: Submerge and Boil
Using tongs, carefully place the heat-resistant container with the disassembled grinder components into the boiling water. Ensure that all parts are completely submerged and allow them to boil for approximately 20-30 minutes. The boiling water will dissolve the resin and any build-up, effectively cleaning the grinder.
Step 4: Scrub and Rinse
After the boiling process, carefully remove the container from the boiling water using tongs. Use a brush or toothbrush to scrub the individual components, removing any remaining residue. Once thoroughly scrubbed, rinse the grinder parts with warm water to remove any residual cleaner or debris.
Step 5: Dry and Reassemble
After rinsing, allow the components to air dry completely. Once dry, reassemble the grinder, ensuring all the pieces fit together properly. Your clean and refreshed grinder is now ready for use.
Tips for Maximizing the Cannabis-infused Benefits
To fully enjoy the cannabis-infused benefits of boiling your grinder, consider these tips:
- Collect the residue: While scraping off the remaining residue, save it for future use. The residue can be added to joints, bowls, or even used to make homemade edibles.
- Decarboxylate the residue: To activate the cannabinoids present in the residue, consider decarboxylation. Place the residue onto an oven-safe dish and bake it at 220°F for 30-45 minutes.
- Experiment with dosing: As the potency of the residue may vary, start with smaller amounts and gradually increase to find your optimal dosage. This allows for a personalized and controlled cannabis experience.
By following these steps and tips, you can maximize both the cleanliness and the cannabis benefits of boiling your grinder. Enjoy a refreshed grinder and an elevated cannabis experience.

